

As a trusted supplier of Diamond Lapping Plates, I understand the importance of a proper installation process for achieving optimal performance in your lapping operations. In this blog, I'll guide you through the step-by-step process of installing diamond lapping plates on a lapping machine, ensuring that you get the most out of your equipment.
Understanding Diamond Lapping Plates
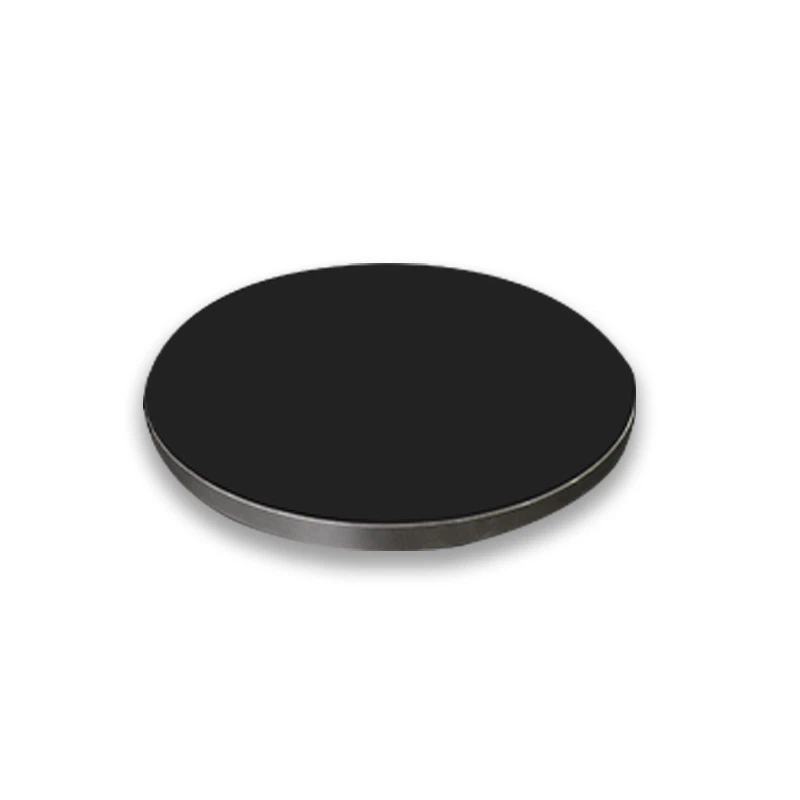
Before we dive into the installation process, it's crucial to understand what diamond lapping plates are and why they are essential in precision machining. Diamond lapping plates are used for the precision lapping and polishing of various materials, including metals, ceramics, and glass. The diamond abrasive particles embedded in the plate's surface provide a consistent and efficient cutting action, resulting in a high-quality finish on the workpiece.
Tools and Materials Required
To install diamond lapping plates on a lapping machine, you'll need the following tools and materials:
- Diamond lapping plate
- Lapping machine
- Cleaning solvent
- Soft cloth
- Torque wrench
- Safety goggles and gloves
Step 1: Prepare the Lapping Machine
The first step in installing a diamond lapping plate is to prepare the lapping machine. Start by turning off the machine and unplugging it from the power source to ensure your safety. Then, use a cleaning solvent and a soft cloth to clean the surface of the lapping machine where the diamond lapping plate will be installed. Remove any dirt, debris, or old lapping compound from the surface to ensure a clean and smooth installation.
Step 2: Inspect the Diamond Lapping Plate
Before installing the diamond lapping plate, carefully inspect it for any signs of damage or defects. Look for cracks, chips, or uneven surfaces on the plate. If you notice any issues, contact your supplier immediately for a replacement. A damaged lapping plate can affect the quality of the lapping process and may cause damage to your workpiece.
Step 3: Position the Diamond Lapping Plate
Once the lapping machine is clean and the diamond lapping plate is inspected, it's time to position the plate on the machine. Carefully place the lapping plate on the machine's platen, ensuring that it is centered and aligned correctly. Most lapping plates have alignment marks or holes that correspond to the mounting holes on the machine. Use these marks as a guide to ensure proper positioning.
Step 4: Secure the Diamond Lapping Plate
After positioning the lapping plate, it's time to secure it to the machine. Most lapping machines use bolts or screws to attach the lapping plate to the platen. Use a torque wrench to tighten the bolts or screws to the manufacturer's recommended torque specifications. Over-tightening the bolts can cause the lapping plate to crack or warp, while under-tightening can result in the plate shifting during operation.
Step 5: Check the Flatness of the Lapping Plate
Once the diamond lapping plate is secured to the machine, it's important to check its flatness. Use a precision flatness gauge or a straight edge to check the surface of the lapping plate. If the plate is not flat, it can cause uneven lapping and affect the quality of the finished workpiece. If you notice any unevenness, you may need to adjust the mounting bolts or consult your supplier for further assistance.
Step 6: Clean the Lapping Plate
Before using the lapping plate, it's important to clean it thoroughly to remove any debris or contaminants that may have accumulated during the installation process. Use a cleaning solvent and a soft cloth to clean the surface of the lapping plate. Make sure to remove all traces of the cleaning solvent before using the plate.
Step 7: Apply Lapping Compound
Once the lapping plate is clean, it's time to apply the lapping compound. The lapping compound is a mixture of abrasive particles and a carrier fluid that helps to lubricate the lapping process and remove material from the workpiece. Apply a thin layer of lapping compound to the surface of the lapping plate using a brush or a dispenser. Make sure to distribute the compound evenly across the surface of the plate.

Step 8: Start the Lapping Machine
After applying the lapping compound, it's time to start the lapping machine. Turn on the machine and adjust the speed and pressure settings according to the manufacturer's recommendations. Place the workpiece on the lapping plate and apply gentle pressure to ensure that it makes contact with the plate. Allow the machine to run for a few minutes to break in the lapping plate and the workpiece.
Step 9: Monitor the Lapping Process
During the lapping process, it's important to monitor the progress of the lapping and make any necessary adjustments. Check the surface of the workpiece regularly to ensure that it is being lapped evenly. If you notice any unevenness or scratches on the surface of the workpiece, you may need to adjust the speed, pressure, or lapping compound.
Step 10: Clean and Maintain the Lapping Plate
After the lapping process is complete, it's important to clean and maintain the lapping plate to ensure its longevity and performance. Use a cleaning solvent and a soft cloth to clean the surface of the lapping plate. Remove any remaining lapping compound and debris from the plate. Store the lapping plate in a clean and dry place to prevent corrosion and damage.
Conclusion
Installing diamond lapping plates on a lapping machine is a straightforward process that requires careful preparation and attention to detail. By following the steps outlined in this blog, you can ensure that your diamond lapping plates are installed correctly and that you achieve optimal performance in your lapping operations.
If you're in the market for high-quality Diamond Lapping Plates, Polishing Plates, or Precision Polishing Jig, I encourage you to reach out to us. We offer a wide range of products to meet your specific needs and requirements. Contact us today to discuss your procurement needs and explore how our products can enhance your lapping and polishing processes.
References
- Manufacturer's manuals for lapping machines and diamond lapping plates.
- Industry standards and best practices for lapping and polishing operations.


